Free Hair Bow Instructions: How to make a tulle carnation hair bow

I've been working on different ribbon techniques lately, and realized that some of the same techniques that can be done with ribbon can also be completed with tulle, for a totally different kind of look! This is a very simple hand-sewing project that's suitable for beginners.
Supplies (photo below):
* Two (2) or three (3) different colors of 6-inch-wide (15.2 cm) tulle. This can be purchased online or at most big-box craft stores, usually in the wedding section.
* Two (2) colors of Perle cotton thread to match your tulle, size 8
* A large darning needle
* A scrap of felt (I would NOT recommend 100% wool for this project), or buckram
* A 1 1/2 - 2" (3.8 - 5 cm) circle "template" to trace. I traced a baby jar lid and then trimmed the felt a little smaller after cutting.
* Scissors
* A pinch clip for holding your project as you work - and for use at the end to mount to your carnation bow
* Hot glue gun and glue
* A bit of 3/8" ribbon if you would like to line your clip

Instructions
1. Cut two (2) of your colors of tulle to 30 in. (76 cm) for the base.
2. Cut one (1) of your colors of tulle to 20 in. (51 cm) for the top.
3. Layer the two long pieces on top of each other. You can also use just one piece of tulle if you prefer, but two adds a bit of "body" to your bottom layer.
4. Fold the pieces in half, width-wise (below).

5. Fold in half again (below).
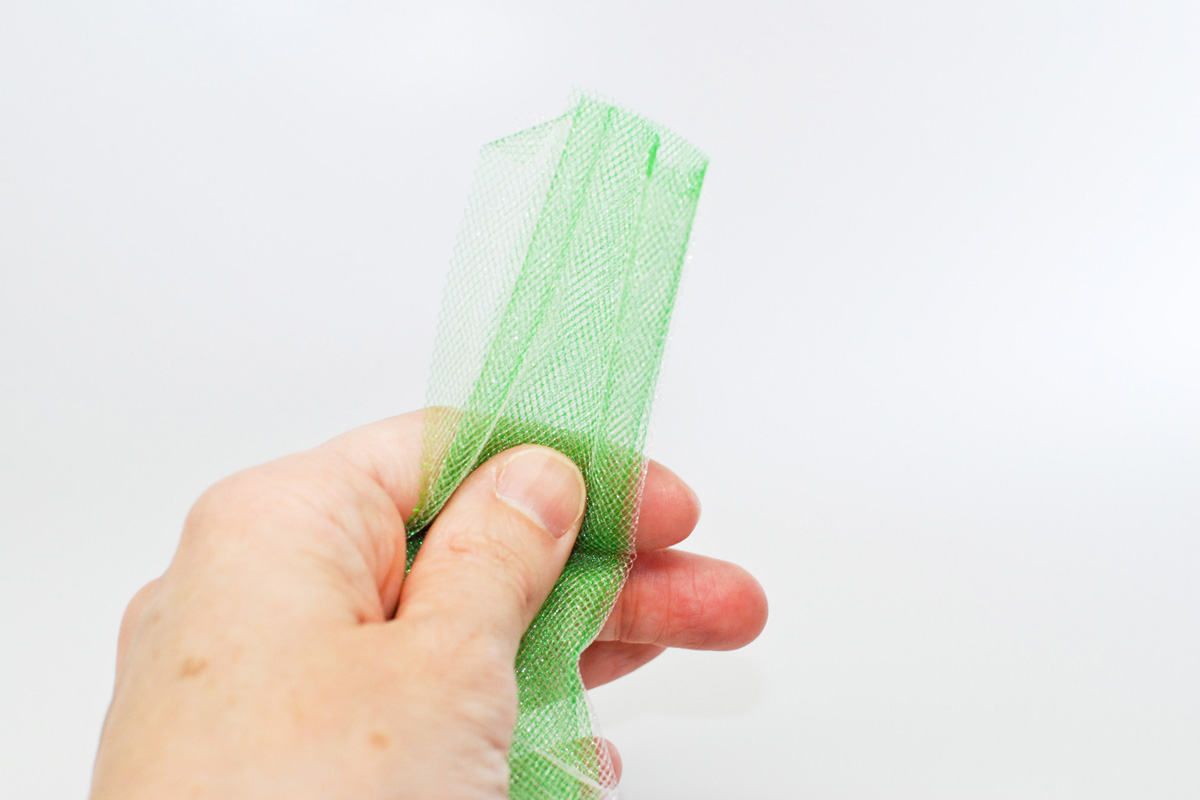
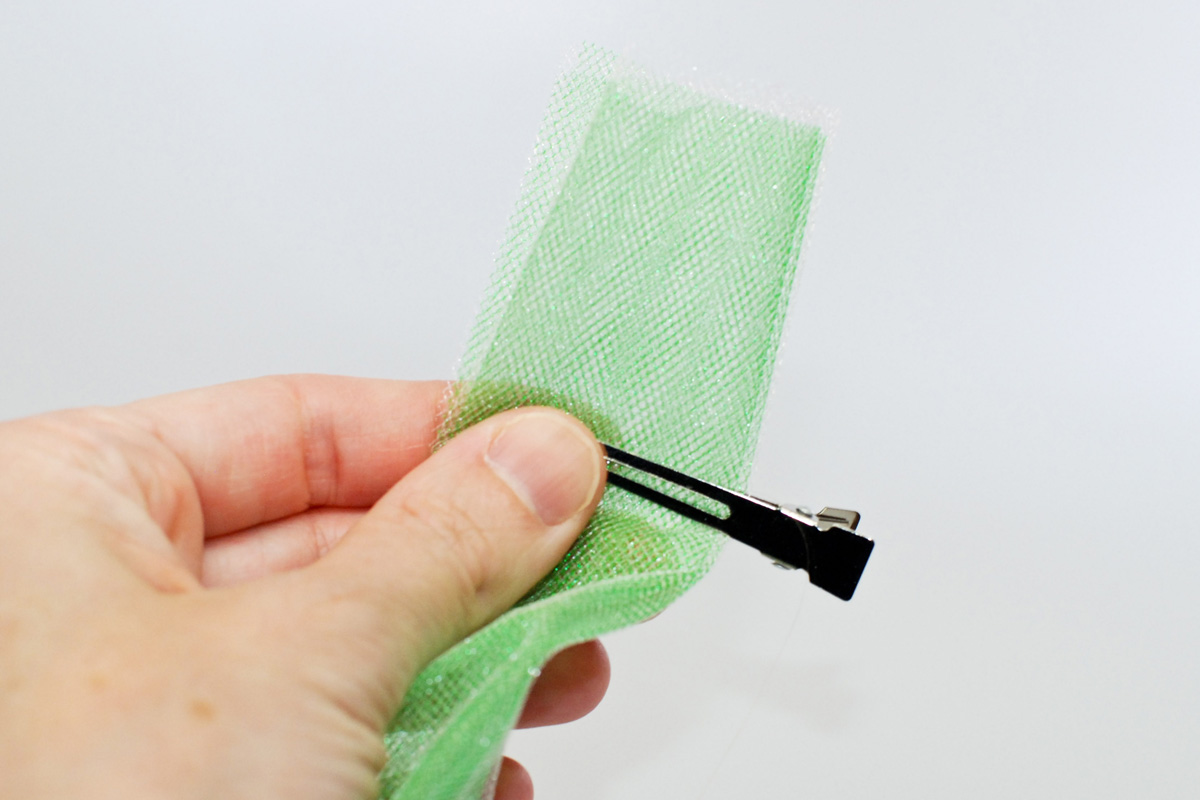
6. Clip together with a pinch clip (below). Because tulle is slippery, you'll need to adjust your folds and move your clip as you sew. Taking just a little time to do this will make for a much neater bow.
7. Thread your needle with matching thread, and tie a large knot at the end so it doesn't slip through the tulle. Sew about 1/4 in. (0.6 cm) from the folded edge of the tulle, and complete a running stitch all the way to the other end (below).

8. Gather the tulle and form into a circle. Stitch both ends together, taking care that you don't accidentally twist your work (below).

9. Cut out circle of felt or buckram (below). A circle with a diameter of about 1 1/2 in. (3.8 cm) is a good size.

10. Carefully stitch your circle of tulle to the felt or buckram (below). Make sure you catch all the folds. I whipstitched the back as well as completed a running stitch. Depending on how tight you gathered your tulle, you might see a "hole" in the middle front where you can still see the felt/buckram, but don't worry - our tulle center will cover this.

11. Complete steps 4 through 8 with the smaller piece of tulle (below).

12. Sew this piece of tulle to the center of your project (below).

13. Hot-glue and sew a pinch clip (or barrette if you choose) to the back of the project, and have your little one wear your creation with pride!

Labels: Hair Accessories, Projects, tutorials
posted by Deanna McCool at
6:32 AM
![]()


3 Comments:
Precious! Now I have to go buy some tulle...thanks for causing yet another craft-store purchase ;) It's all your fault.
The GOOD thing is that the tulle is really inexpensive. :) :)
Thank you for such a cute idea! I always have pieces left after making my girls tutus and now I can use them for a cute clip to match! :)
Post a Comment
Subscribe to Post Comments [Atom]
<< Home